Roy Vanegas
Submitting Assignments Using GitHub Desktop
Burden: ~30 minutes
Follow every step of these instructions carefully and avoid submitting your assignment in haste or with distractions around you, as these will no doubt hinder your ability to submit successfully.
Note: Before proceeding, make sure you’re using the latest stable release of GitHub Desktop. As of this writing, version 223, Hasty Things Done Hastily, is the latest. Do not use the beta version. If you need to download GitHub Desktop, go here and scroll all the way to the bottom of the page for the latest stable version.
Note: Replace assignment-1 with the name of the assignment repo to which you need to submit your work.
- Log in to GitHub and visit the assignment’s repository, or repo, page. For this example, I’ll use a dummy, or slug, repo called
assignment-1,https://github.com/code-warrior/assignment-1.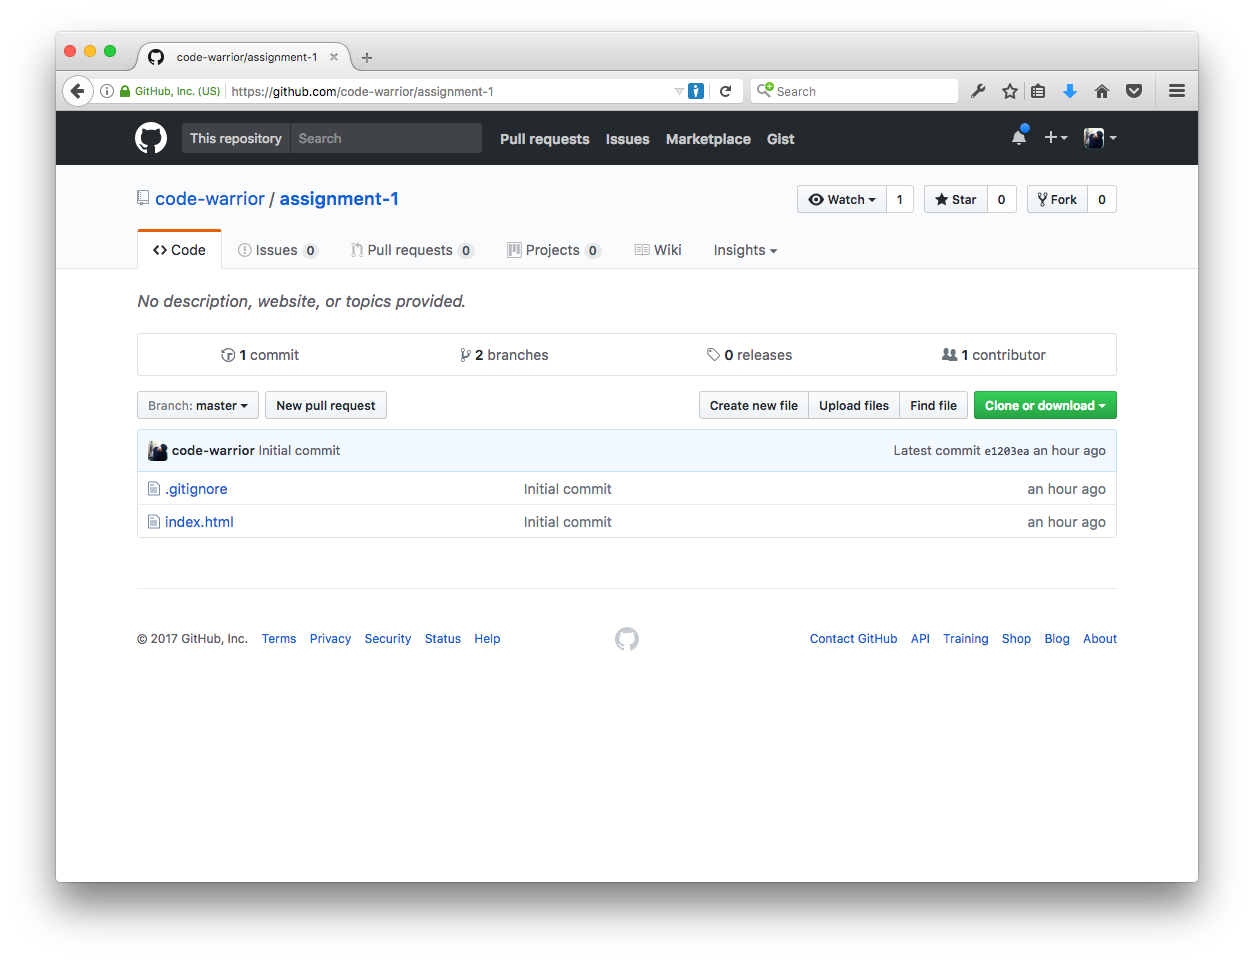
- Fork the
assignment-1repo by clicking the wordforkin the upper right hand corner.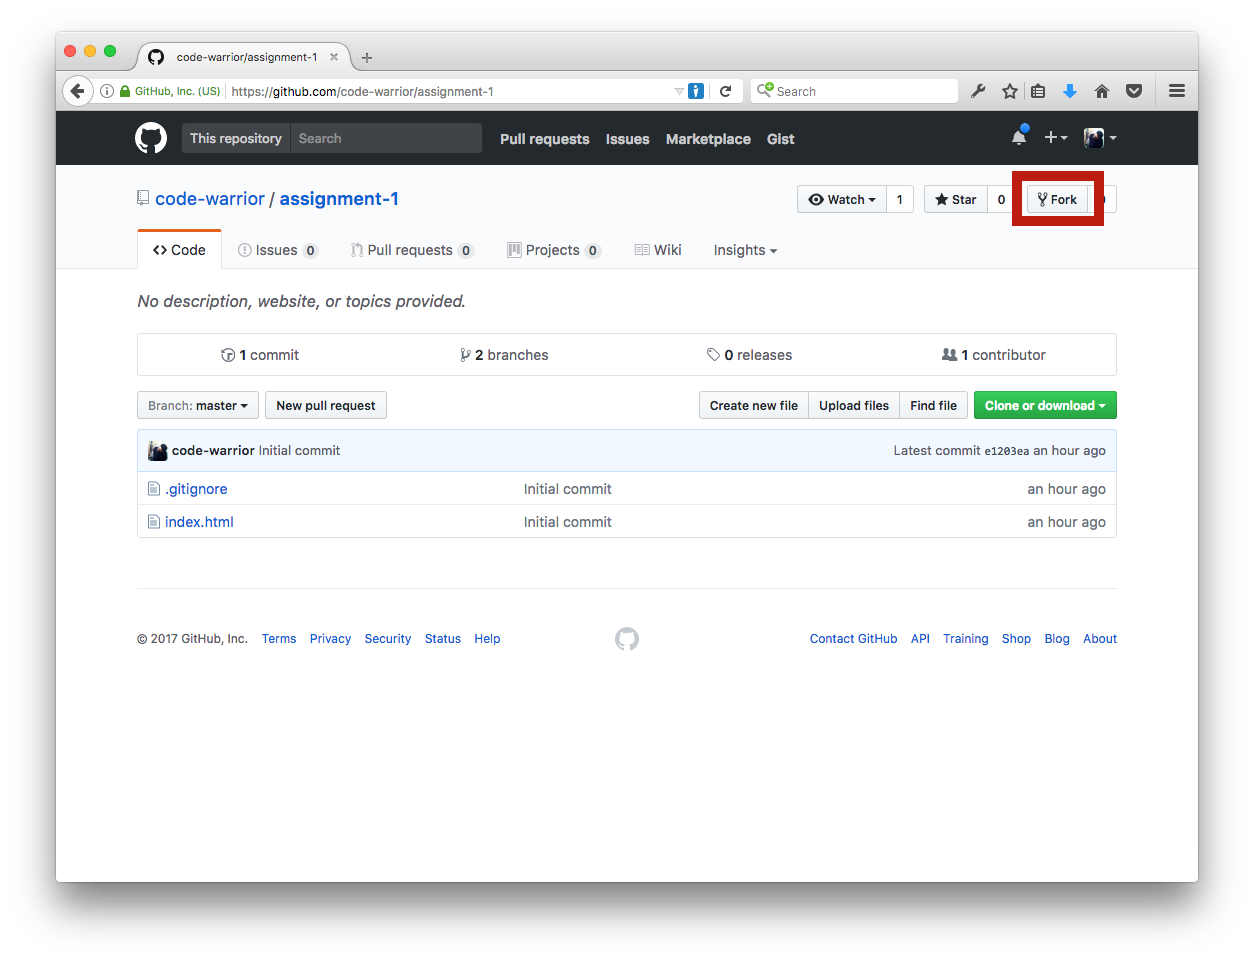
- You’ll see something aking to the following.
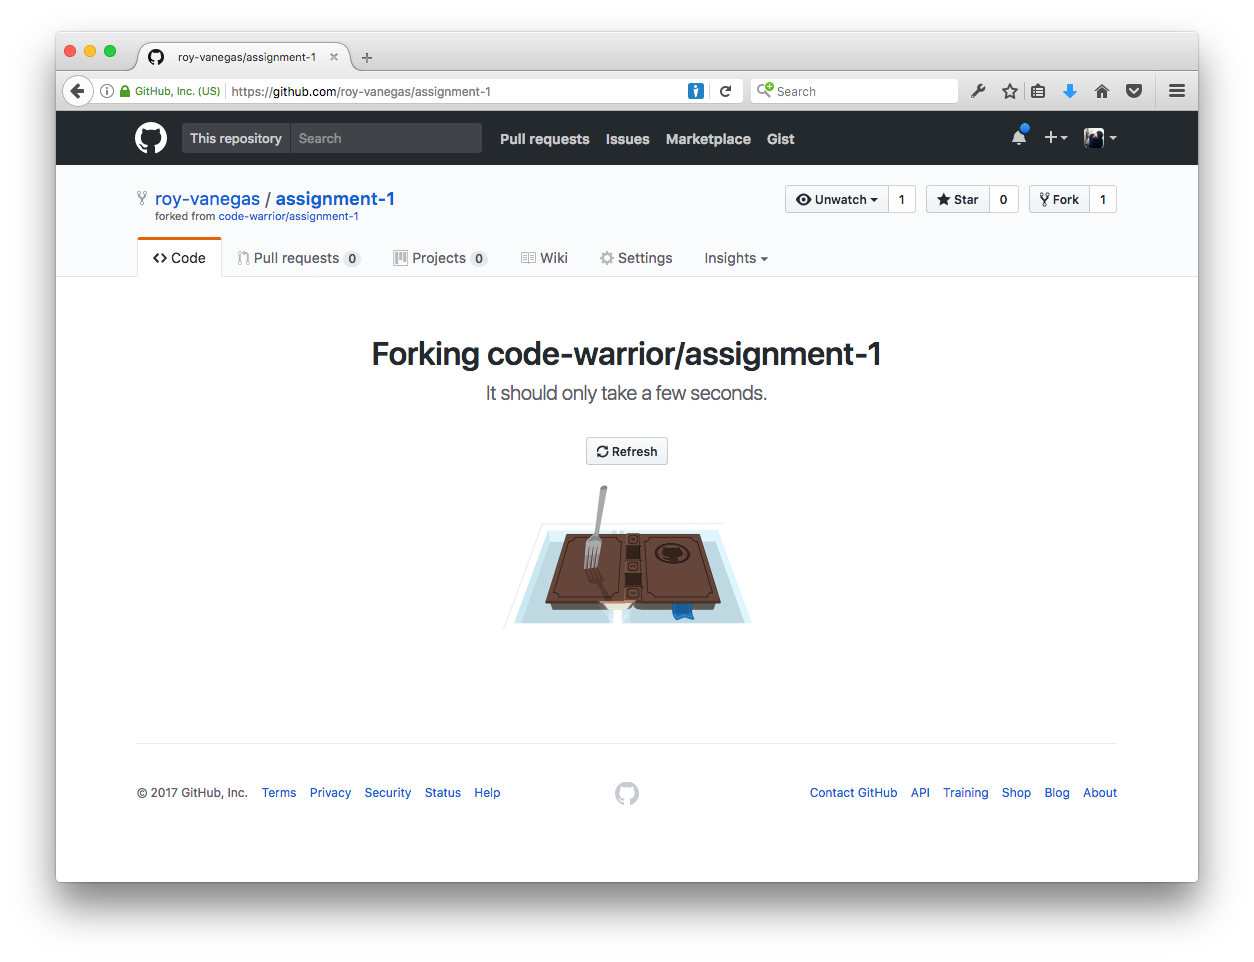
- Once the fork is done, you’ll be taken to the fork’s page in your account. Note the URL and the info in the top left corner to verify that you now have a fork of your own:

- Now copy, or clone, the repo to your computer by (1) clicking the green
Clone or downloadbutton, then (2) clickingOpen in Desktop, which will launch the GitHub Desktop client.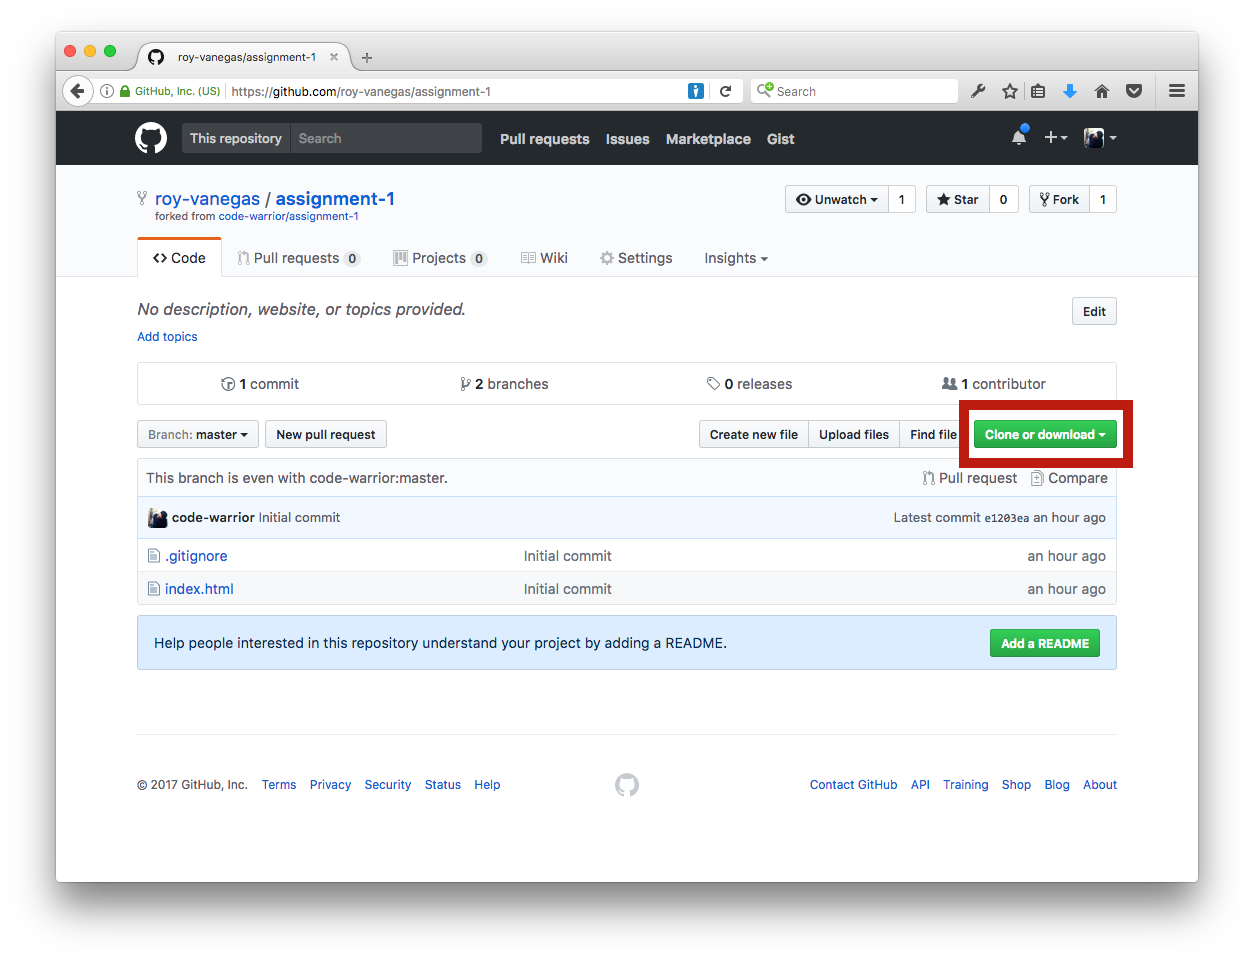

- In the GitHub Desktop client, leave the entry for
Clone As:alone, then choose where you want to save the fork. (I’m saving in a folder calledGitHub.) ClickClonein the lower right corner.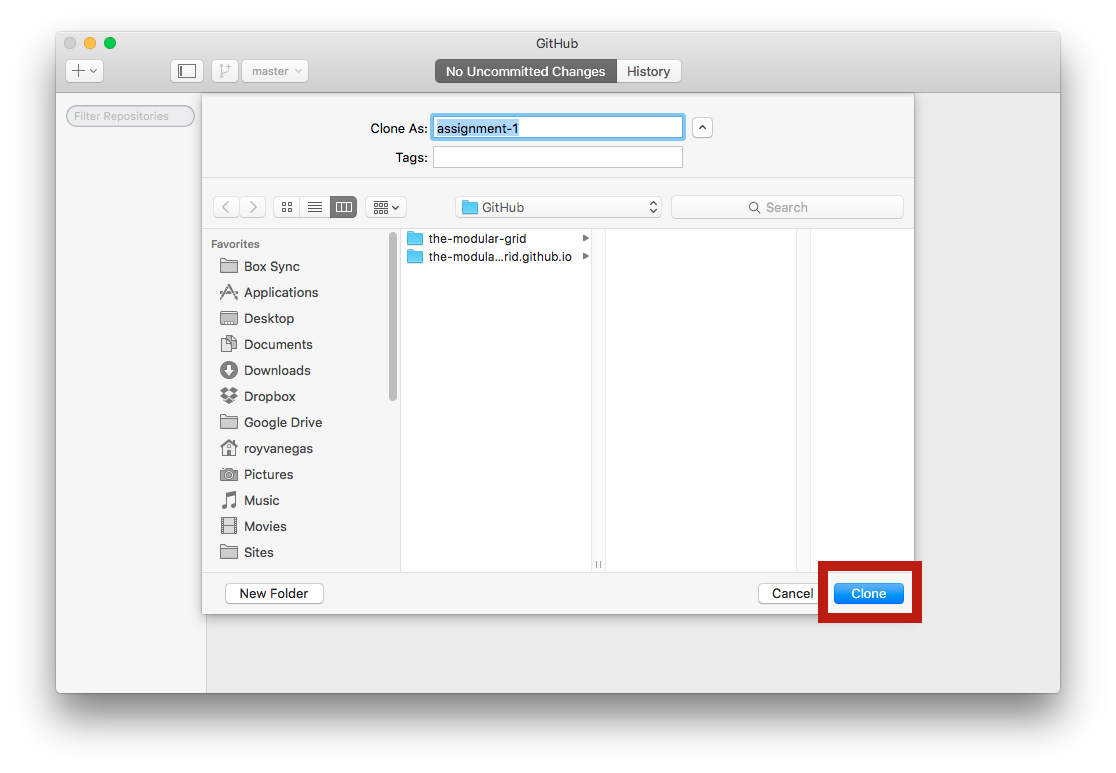
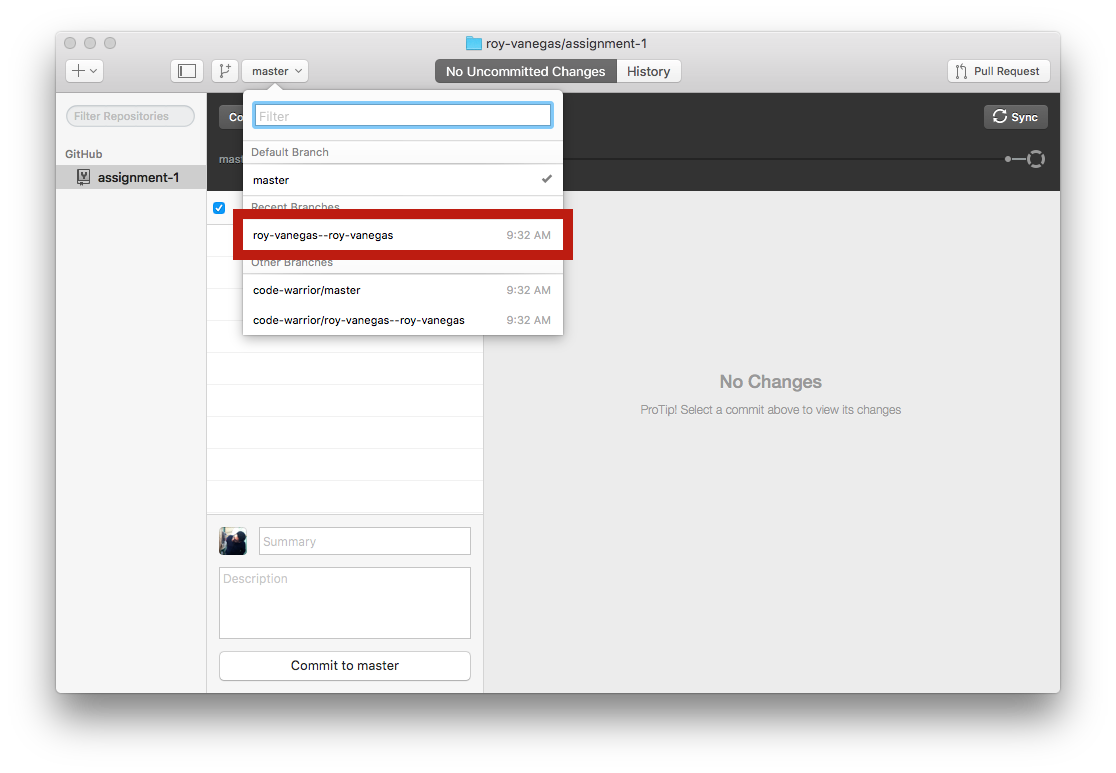
- Every student in any assignment repository has their own branch, formatted as
FIRSTNAME-LASTNAME--GITHUB-USERNAME. Clickmasterin the GitHub Desktop client, at the top, along the left, then choose your branch.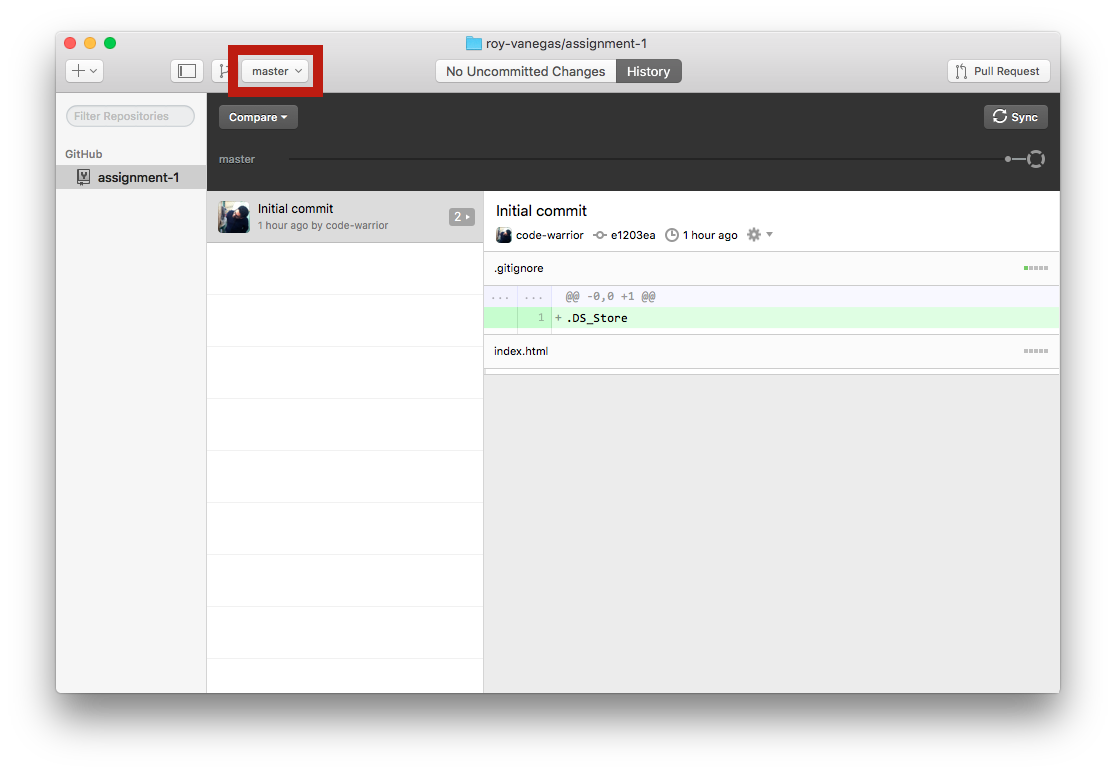
- Along the left column, under GitHub, you should see your cloned repository. Context click it and choose
Open in FinderorOpen in Explorerif you’re using Windows.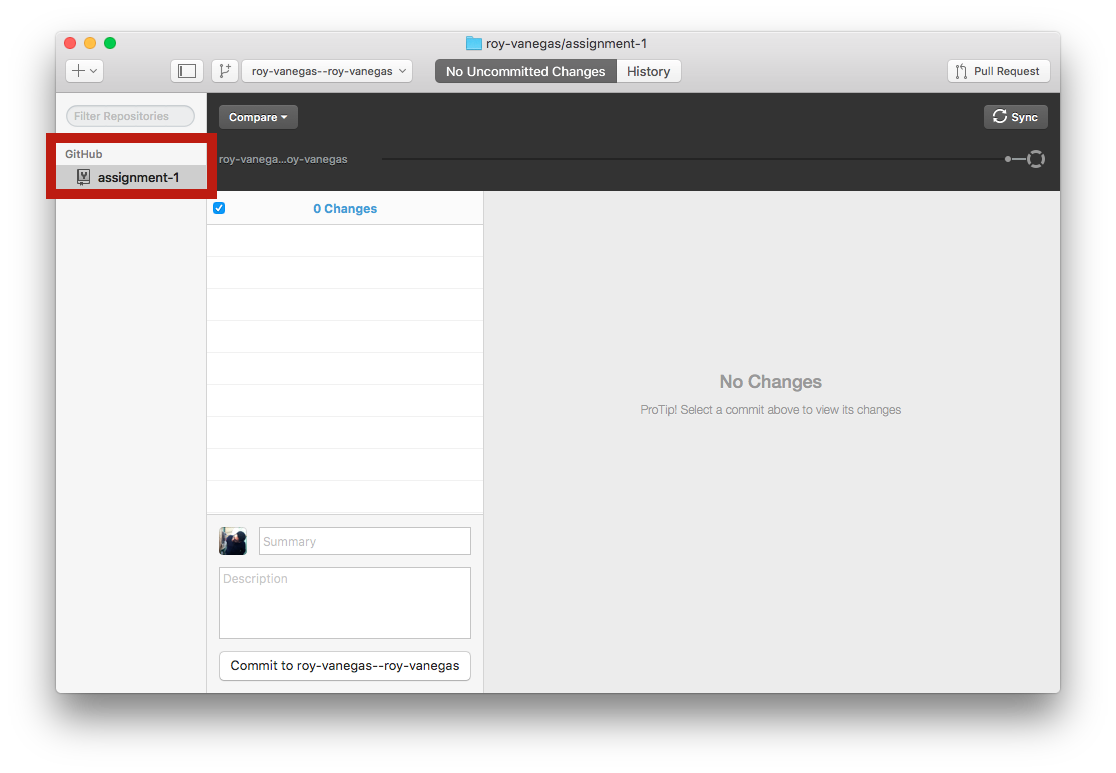
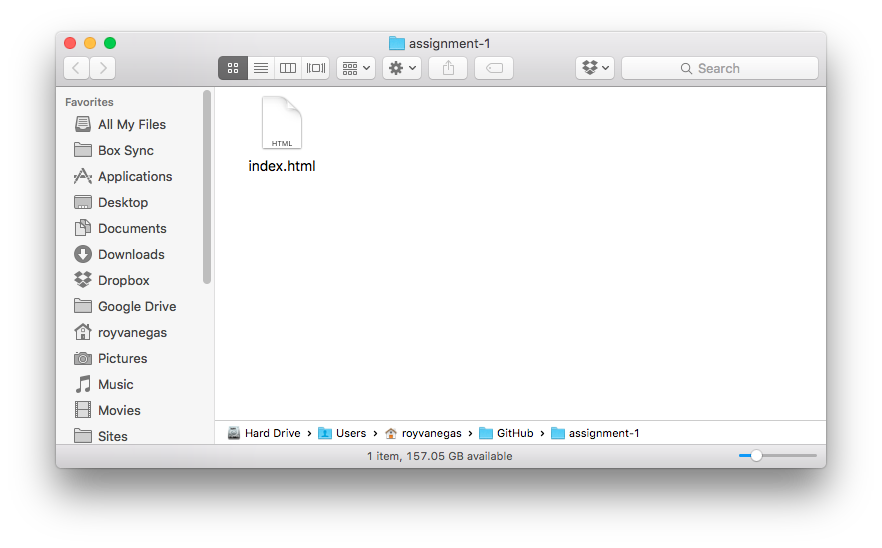
- Do all your work in this folder, committing and syncing often.

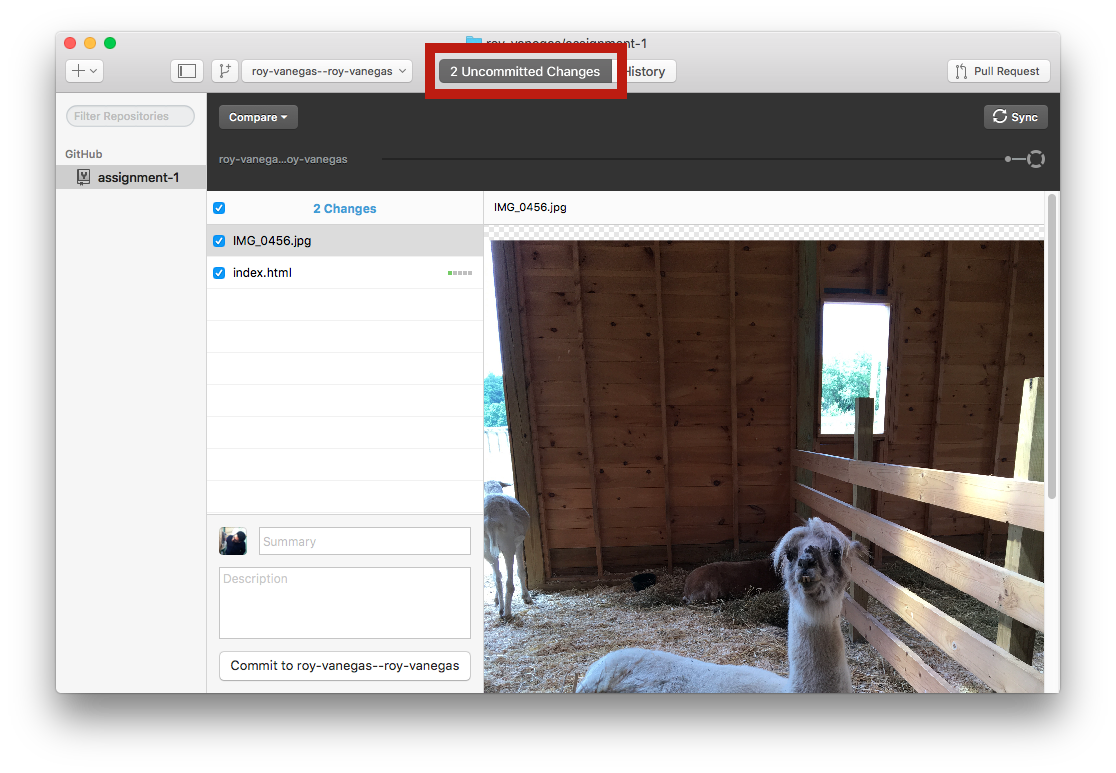
- Return to the
GitHub Desktopclient. Your changes should appear as uncommitted changes next toHistory. In the screenshot below, for example, I addedIMG_0456.jpgand made a change toindex.html. Both are considered2 Uncommitted Changes.
- Commit your changes by (1) creating a commit message, (2) clicking the
Commit to BRANCH_NAMEbutton, and (3) clickingSync. For example, I’m committing the addition of a picture of a llama.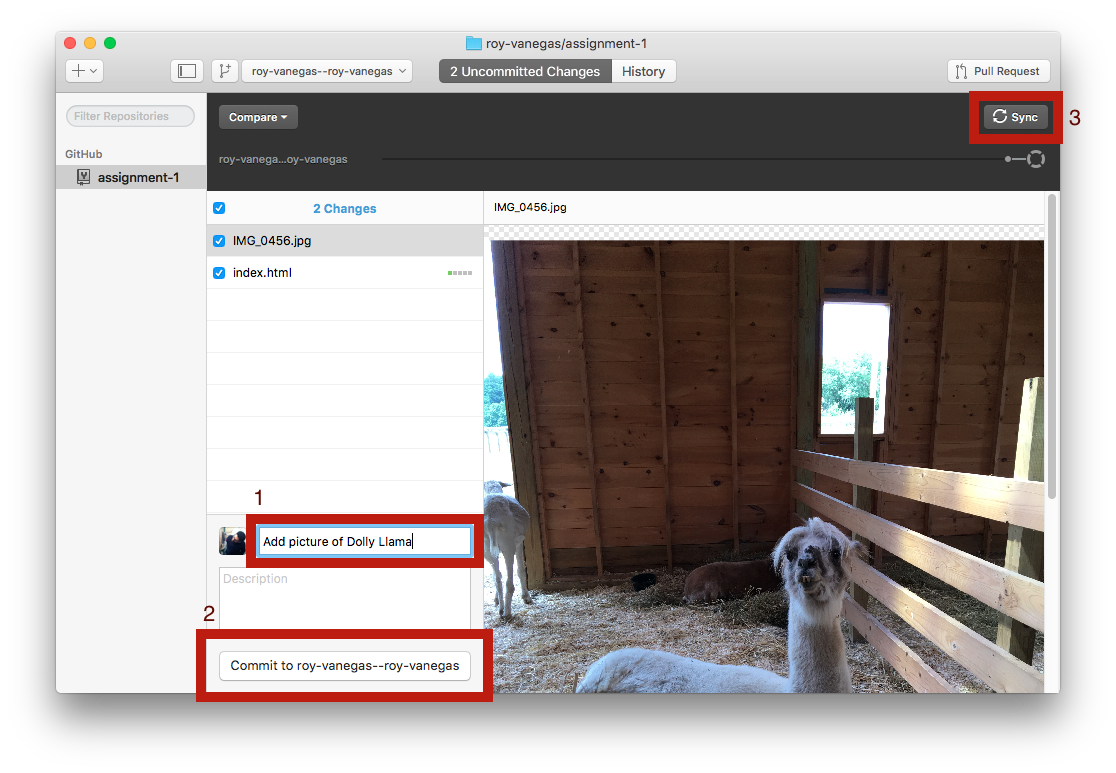
- Click
Historyalong the top. You should see your commit message along the left.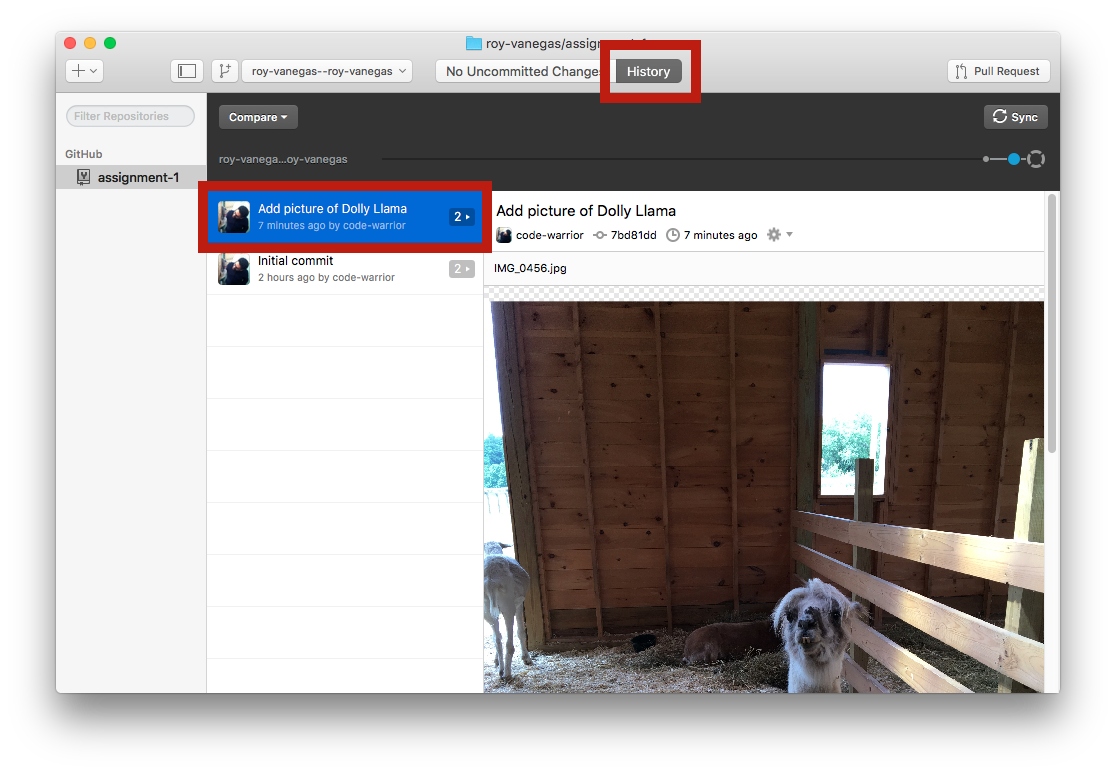
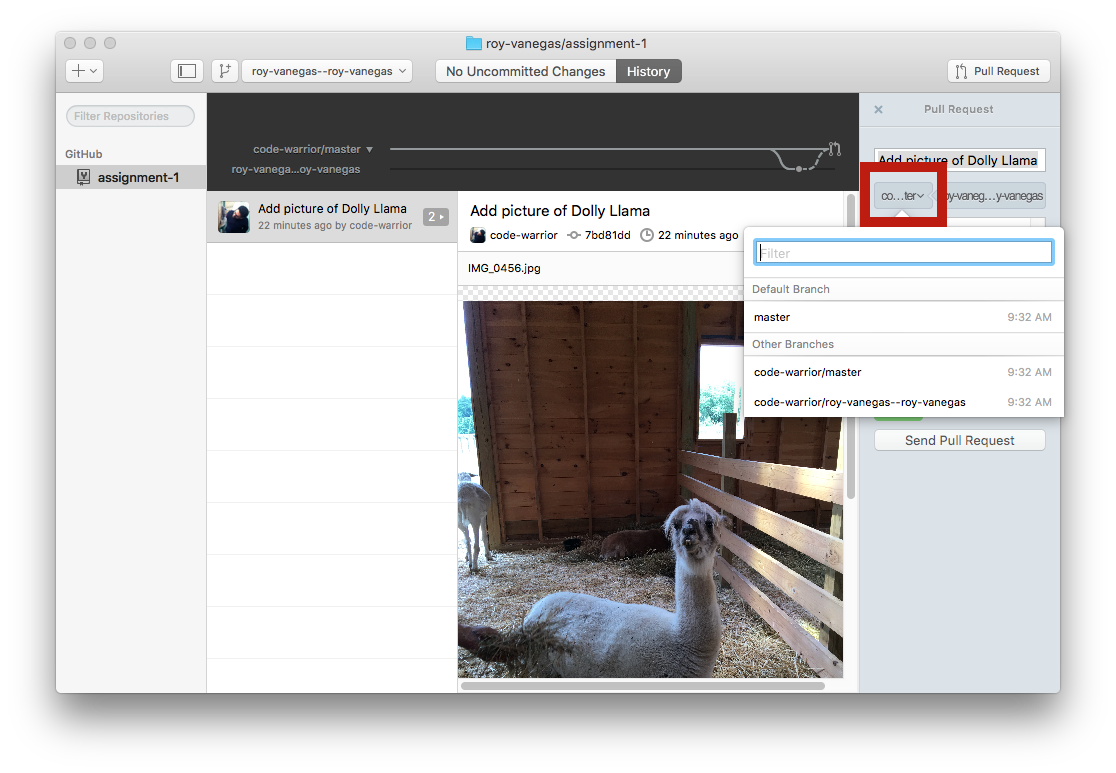
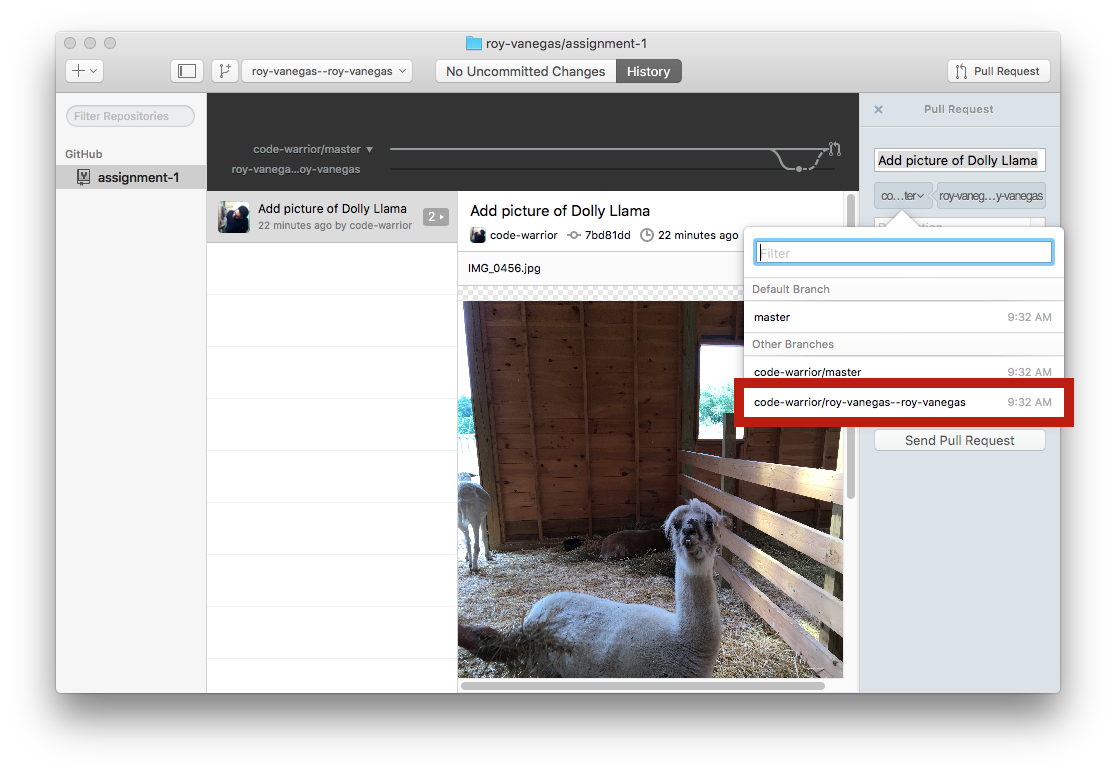
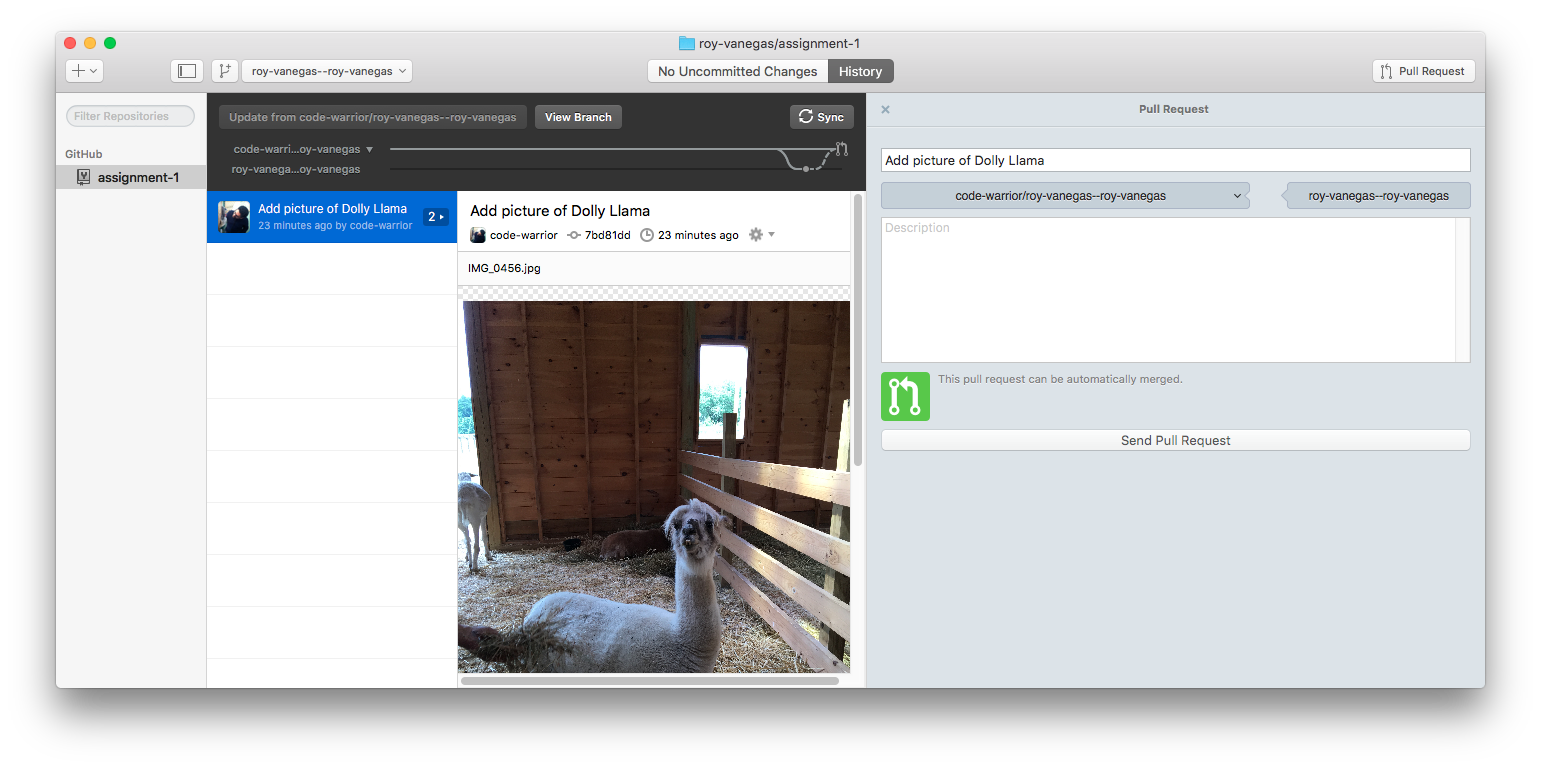
- Click
Pull Request, then click the left light blue box, then choose the target repo and branch. For example, I need to choosecode-warrior/roy-vanegas--roy-vanegasas the target.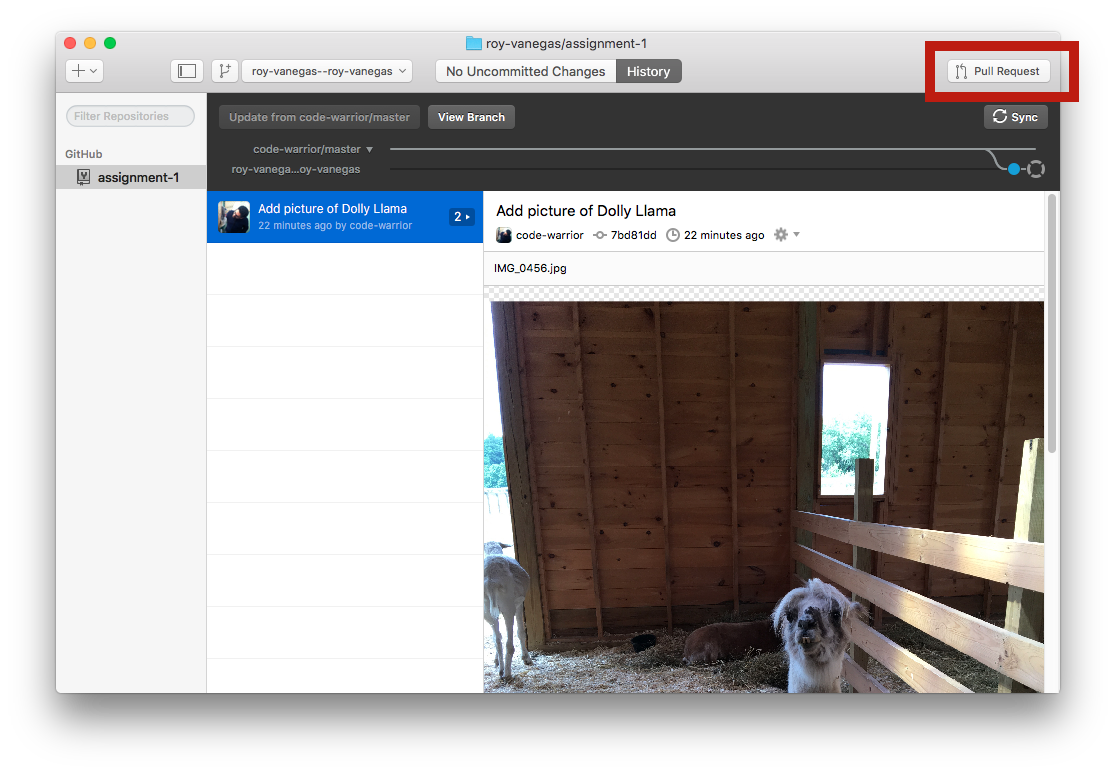
- Expand the GitHub Desktop box so you can read and verify the to and from repos.
- Add a descriptive message, then click
Pull Request.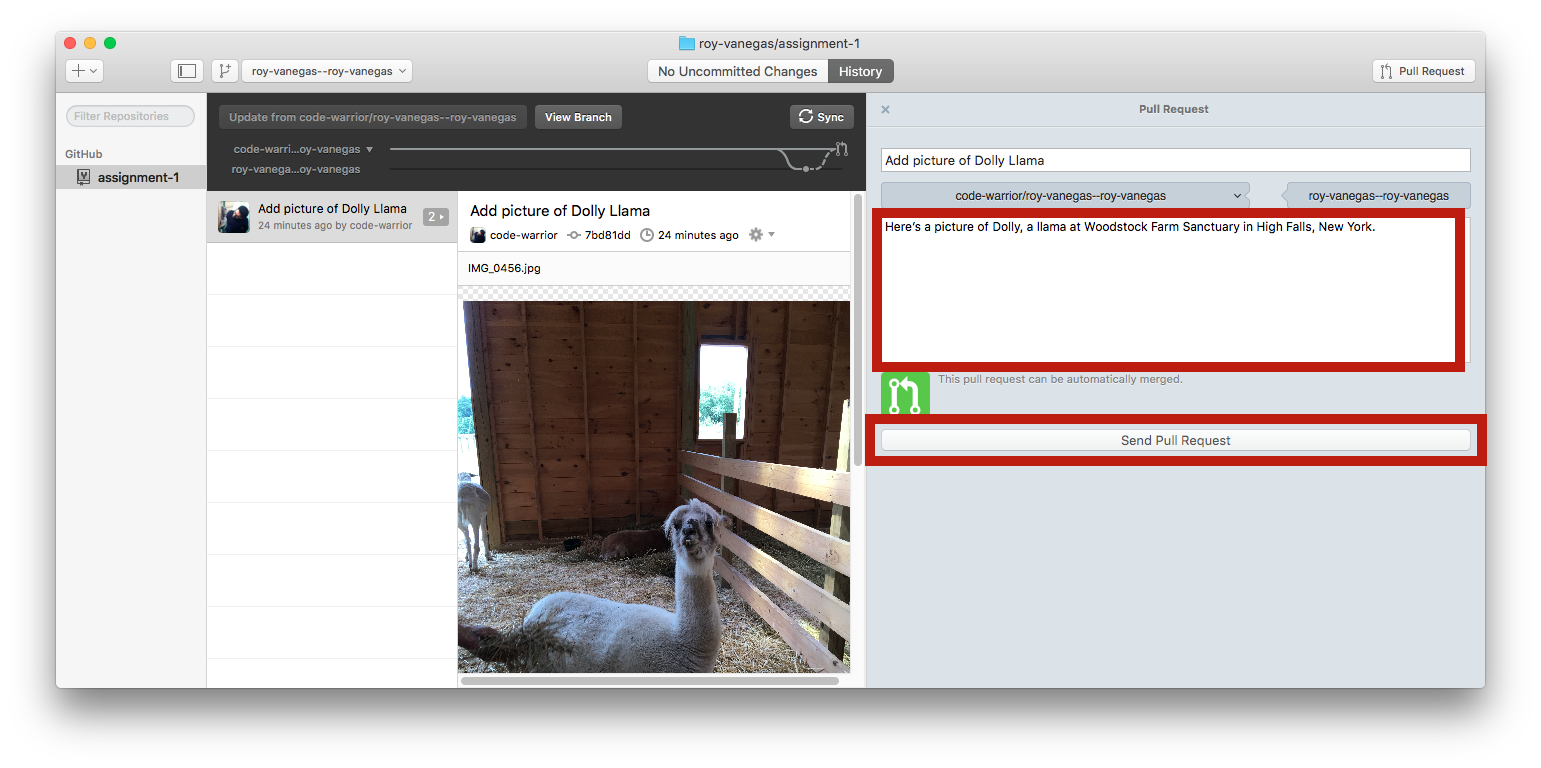
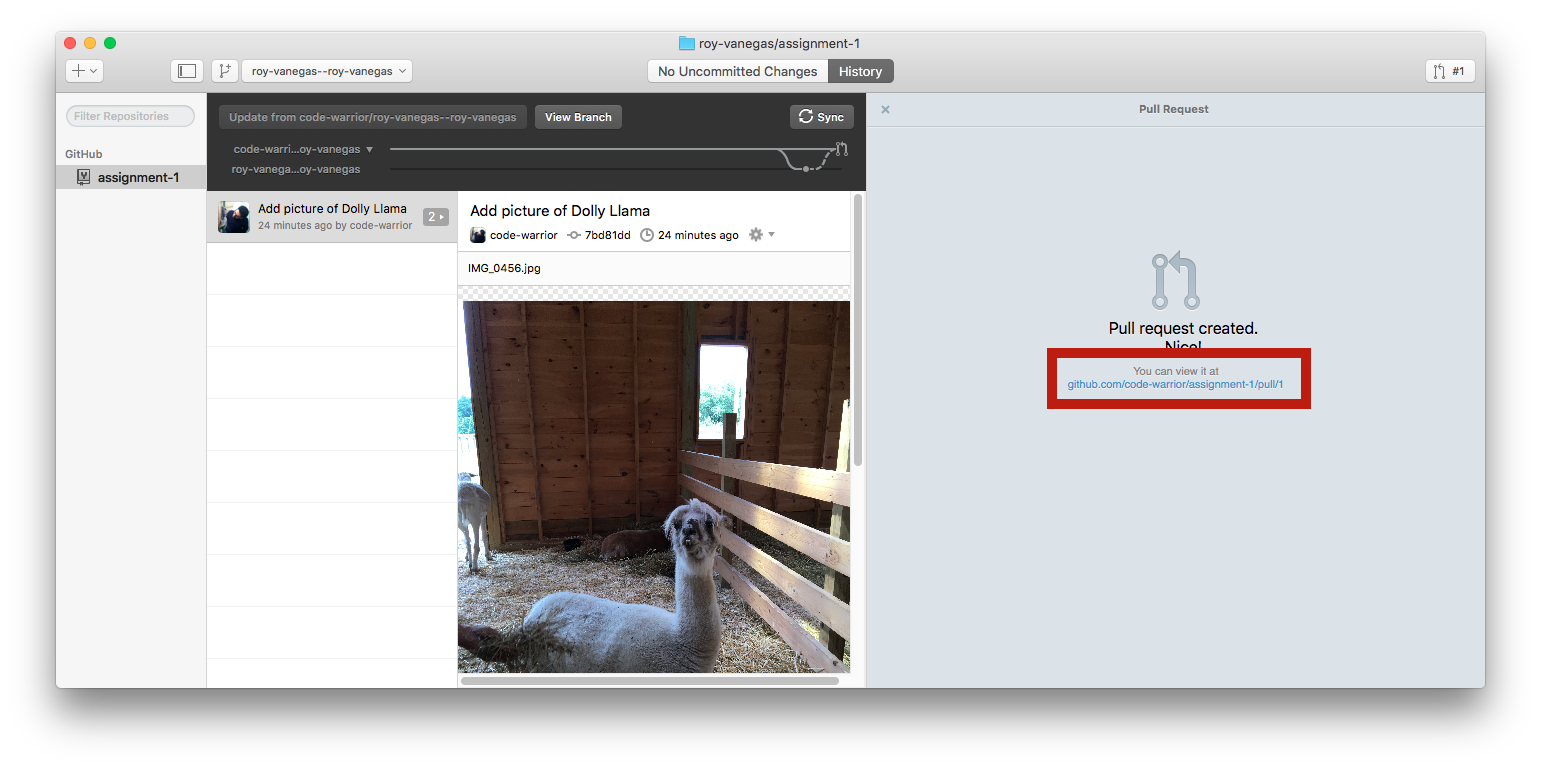
- You’ll get a confirmation that your pull request was successfully submitted. Also, in the confirmation will be a link to view the pull request at GitHub’s web site.